How do franking machines work?

Wondering how franking machines work? Our simple and very useful infographic shows you exactly how simple and easy it is to use. See how to weigh your letters/parcels and how to pop them into your post box.

Franking machines have been around for a long time – over 90 years in fact! They have been helping businesses of all sizes benefit further when sending their mail in the post, making the entire process quicker and more efficient for all. However not every business in the UK uses a franking machine. If you are new or fairly new to this new way of sending your mail or you simply have no clue how a franking machine works, our infographic is just for you.

Do you know how a franking machine works? Our simple Infographic below will provide you with a simple how to guide on using franking machines to your advantage (our entry level Mailstart franking machine) . From weighing your mail to popping it into the post box, our guide has it all.
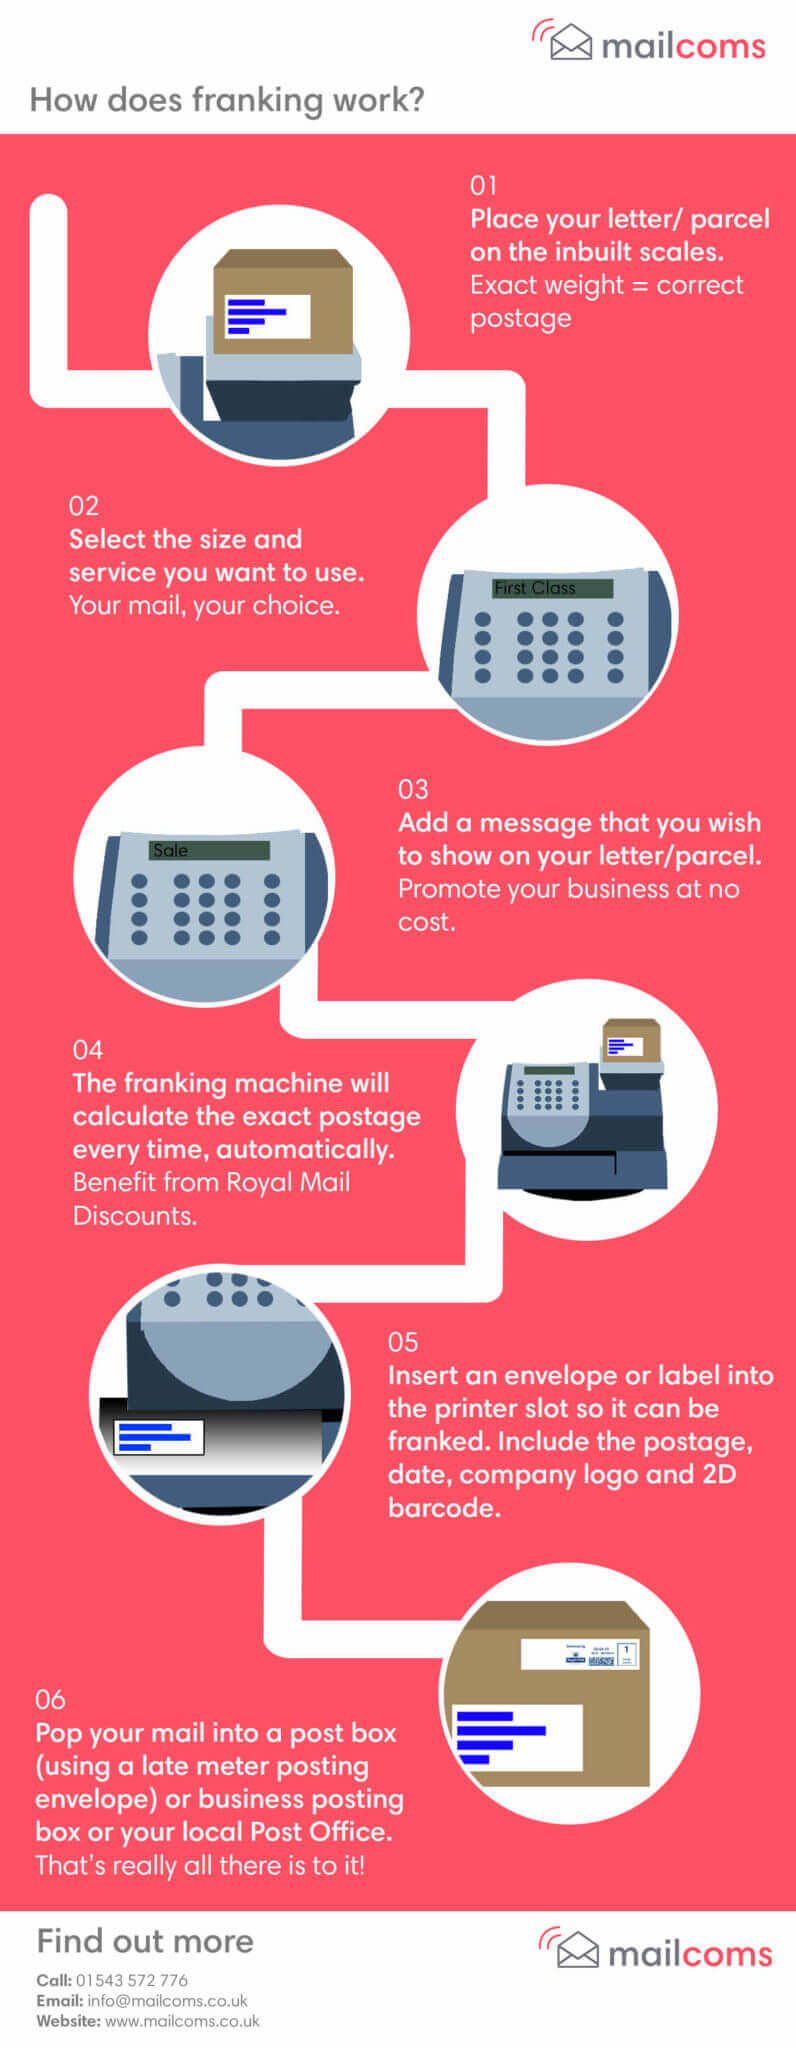
How Does A Franking Machine Work Infographic

1. Place your letter/parcel on the scales.

First of all you need to place your letter or parcel on to the scales. Every franking machine should come with some scales and these can either be integrated into the franking machine (as per the example) or they will be seperate. Either way, by weighing your item you will get the exact weight. Exact weight = correct postage.

2. Select the size & service

Secondly, by using the franking machines navigation menu system, you need to select the exact size and service that you wish to use. Within a few clicks you will have selected your options. Your mail, your choice.

3. add a message

A very useful benefit of using a franking machine is that you can add a personalised message and/or logo onto your outgoing items. This will give your mail items that professional finish, helping increase brand awareness. Promote your business at no extra cost and make an immediate impact on your customers and potential customers.

4. Calculate the exact postage

Next you need to calculate the postage of the item that you are sending. Again by using your franking machines weighing scales you can ensure that the exact postage is paid every time, automatically. This will help reduce any risk of miss paying for your items. By benefitting from the Royal Mails lower Mailmark postage rates you will also make huge franking savings at the same time.

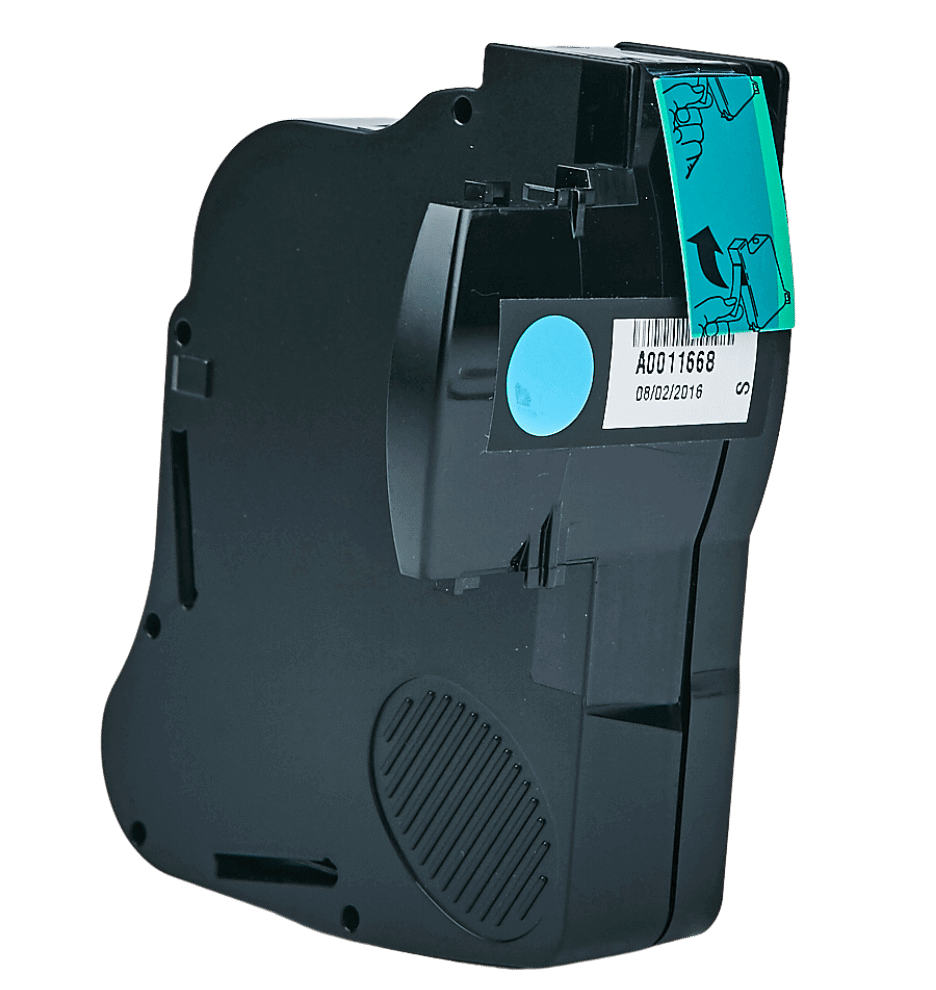
5. Insert your envelope or label

Following on, the next step is to insert your envelope or franking label (for your larger parcels & packets). Every franking machine comes with a feeder and slot for your envelopes/labels to be inserted and franked. Your franking machine will then apply a franking machine and this includes the postage amount, date, company logo/message and 2D barcode.

6. Pop your mail into a post box

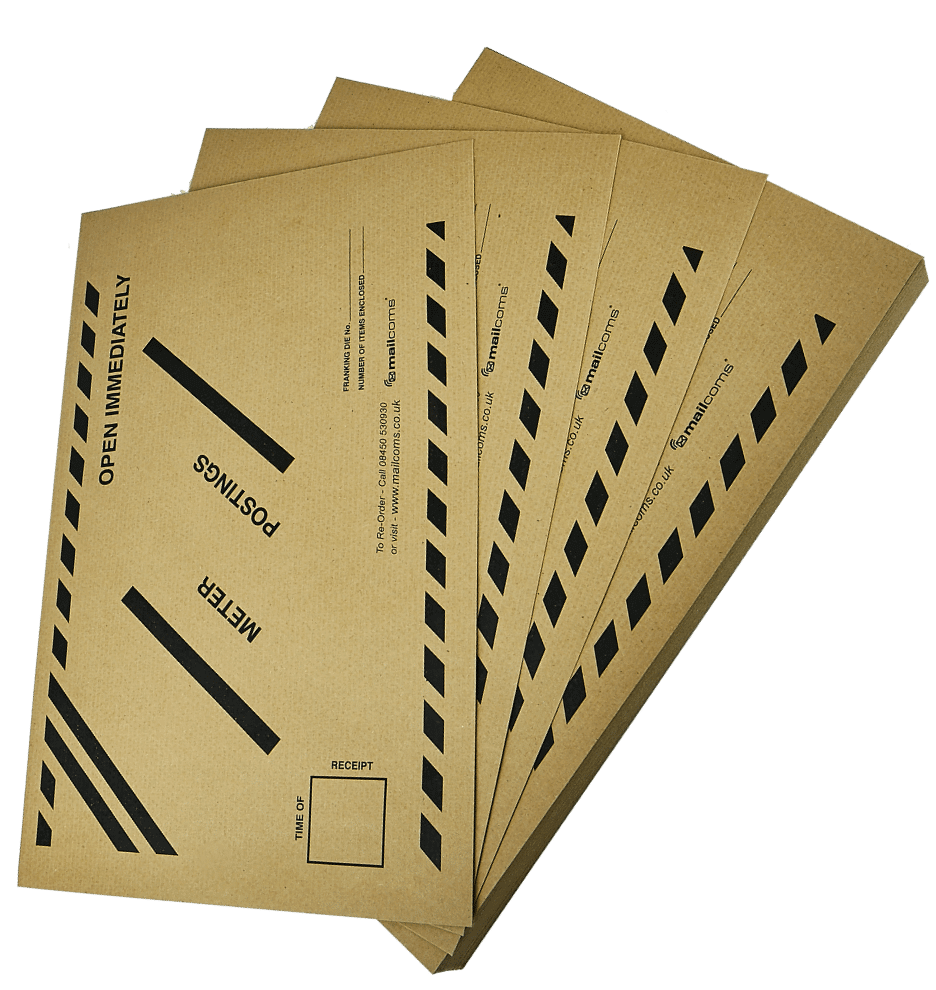
Finally, now that your item has been successfully franked, you can repeat this process for all the items you wish to send on that day. If you have done this then it is time to take them to your local post office, post them into a business posting box or post into a regular post box using meter posting envelopes. That’s really all there is to the entire franking process!