Connect+ Series Printing Support
Follow these steps to replace the ink cartridge:
1. When the low ink or out of ink warning appears, select Replace ink cartridge. If there is no low ink message:
a) Select Settings on the Home screen.
b) Select Hardware.
c) Select Printer.
d) Select the Ink cartridges tab.
e) Select Replace ink cartridge.
2. Open the ink cartridge cover. Note: If a message about the ink cartridge cover being open is displayed, select Clear message.
3. Pull the ink cartridge straight out.
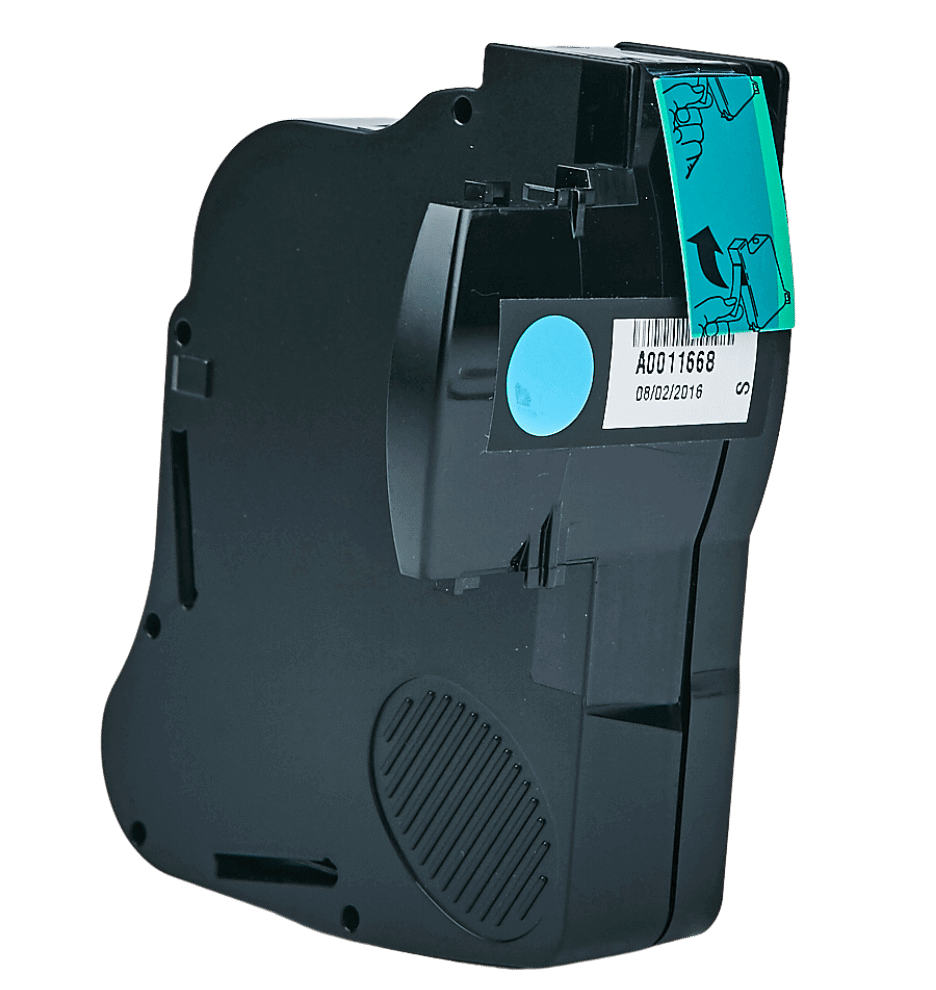
4. Remove the new ink cartridge from its packaging.
5. Hold the ink cartridge with the label facing upright and push into place.
6. Close the ink cartridge cover.
7. Select Print test sample.
8. Check the test sample. If the lines are solid and unbroken, the sample is acceptable.
9. Select Image is OK – Done.
Follow these steps to change a print head:
1. Select Settings under Mailing on the Home screen.
2. Select Hardware.
3. Select Printer.
4. Select the Print head tab.
5. Select Install new…
6. Wait for the print carriage to be prepared and moved forward. This process may take a minute.
7. Once the print carriage has moved forward, open the printer cover.
8. Open the blue print head cover.
9. Lift the blue print head handle up to a vertical position and then lift the print head straight up and out.
10. Remove the new print head from its packaging.
11. Shake the print head three times.
12. Insert the new print head.
• The print head contact must be facing toward the front of the mailing system.
• During installation, only apply pressure to the centre of the print head.
13. Make sure the blue handle is down.
14. Close the blue print head cover.
15. Close the printer cover. The system will begin to prepare the print head. This process may take several minutes.
16. Once the print head preparation is complete, you will be prompted to print a test sample on an envelope or tape.
17. Select Start or Tape to print the test pattern.
18. Check the test sample. If the lines are solid and unbroken, the sample is acceptable.
19. Select Image is OK – Done.
20. Press Home to return to the Home screen.
When the franking machine show one of the following error codes, it usually means it has detected an issue with the print head.
Error Codes: 0418220041, 041822008D, 041822008E, 04182200B2, 0418220044, 0418420038.
Follow these steps to clean the print head:
1. Select Home.
2. Select Settings.
3. Select Hardware.
4. Select Printer.
5. Select Print head.
6. Select Clean print head. Note: Print head cleaning takes approximately one minute. A progress bar indicates the cleaning status.
7. When the cleaning process finishes, you are prompted to print a test sample.
The Refill Summary report contains the following:
The Date, Time, and amount of the last 5 refills.
• The Postage By Phone® account number.
• The franking machine serial number.
• The date the report was printed.
Follow these steps to print the Refill Summary report:
1. From the Home screen, select Reports.
2. Select Refill Summary.
3. Select Start to print the report on an envelope or select Tape to print the report on a tape.
4. Select Done to return to the Home screen.
If you misplaced your receipt or did not print it, you can reprint the receipt for your last postage refill. This is an duplicate of the receipt that was printed at the time of the refill and includes the following:
• Refill Date: The date and time of the refill.
• Postage in franking machine before Refill: The amount of funds in the franking machine before the refill was processed.
• Refill Amount: The amount of the refill.
• Postage in franking machine after Refill: The amount of funds in the franking machine after the refill was processed.
• Prepaid Balance: The amount of funds in your prepaid postage account.
• Purchase Power Available: The amount of funds in your Purchase Power® account.
• PbP Account Number: Your Postage by Phone® account number.
• Franking Machine Number: The serial number of the internal franking machine. Note: This is not the same as the serial number of the feeder.
• Franking Machine Name: This field is not used.
• Printed: The date and time the report is printed.
To print a copy of the refill receipt:
1. Select Reports on the Home screen.
2. Select Refill Receipt.
3. Select Start to print the receipt on an envelope or select Tape to print the receipt on a tape.
The funds report shows how much funds are available to print. It includes the following information:
• Available: The total amount of funds available to print.
• Used: The total amount of funds printed over the lifetime of the franking machine.
• Total Pieces: The total number of mail pieces printed over the lifetime of the franking machine.
• Control Sum: The sum of the Available and Used totals, used to check for correct operation of the franking machine.
• Resettable Piece Count: The total number of mail pieces printed since the counter has been reset.
• Piece Count Value: The total amount of funds printed since the counter has been reset.
• PBP Account Number: The Postage by Phone® account number.
• Indicia Number: The number printed on the Indicia.
• Franking Machine Number: The franking machines serial number. Note: This number will be different than the serial number of the feeder on the front of the machine.
• Franking Machine Name: This field is blank.
• Printed: The date and time the report is printed.
Follow these steps to print the funds report:
1. Select Reports from the Home screen.
2. Select Funds Report.
3. Select Start to print the report on an envelope or select Tape to print the report on a tape.